
Method
-
01 Poolish
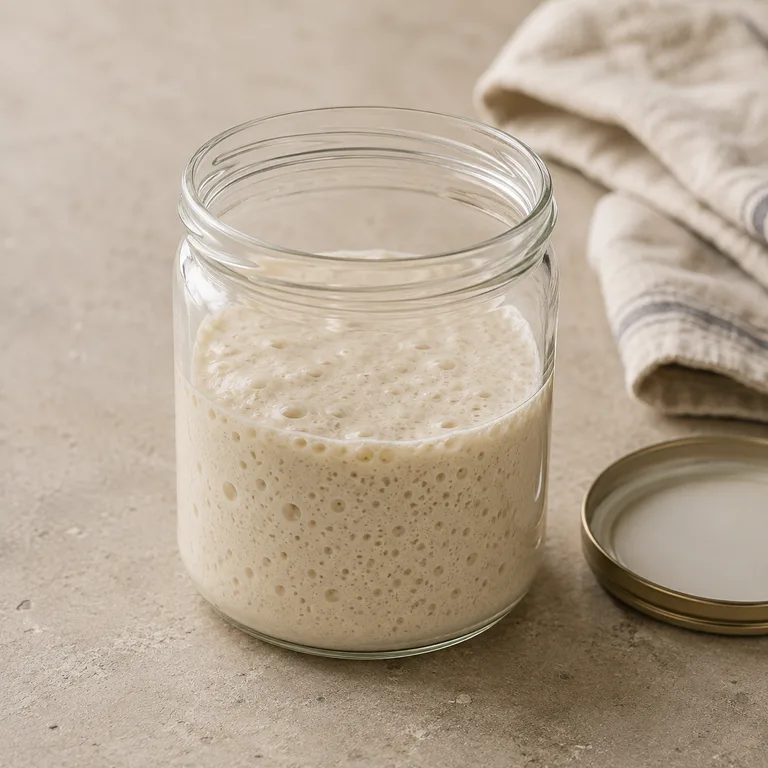
Mix 150 g flour, 150 g water, 5 g dry yeast and 1 tsp honey. Leave at room temperature until active.
Ready when well risen and covered with bubbles.
-
02 Mix
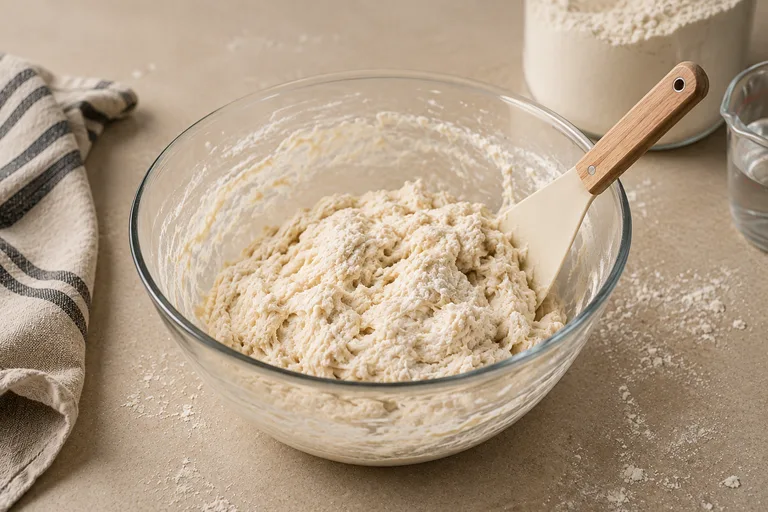
Mix the remaining 285 g water into the poolish. Add the remaining 520 g flour and 10 g salt.
Mix only until everything is combined and no dry flour remains.
-
03 Rest
Cover and leave the dough completely untouched.
-
04 Stretch & fold
Stretch one side of the dough upward and fold it over itself. Rotate and repeat around the dough.
It should already feel stronger and more cohesive.
One complete round: stretch, fold, rotate and repeat. -
05–07 Coil folds
Lift the dough gently from the middle and let both ends fold underneath.
- 05Coil fold #120 min after stretch & fold
Do one round, then rest 20 min.
- 06Coil fold #220 min later
Repeat, then rest 20 min.
- 07Coil fold #320 min later
Repeat the final round.
After the third fold, the dough should feel noticeably stronger, smoother and better able to hold its shape.
- 05Coil fold #120 min after stretch & fold
-
08 Bulk ferment
Cover and leave at room temperature for approximately 3 hours.
Ready when clearly larger, airy and elastic, with small bubbles across the surface.
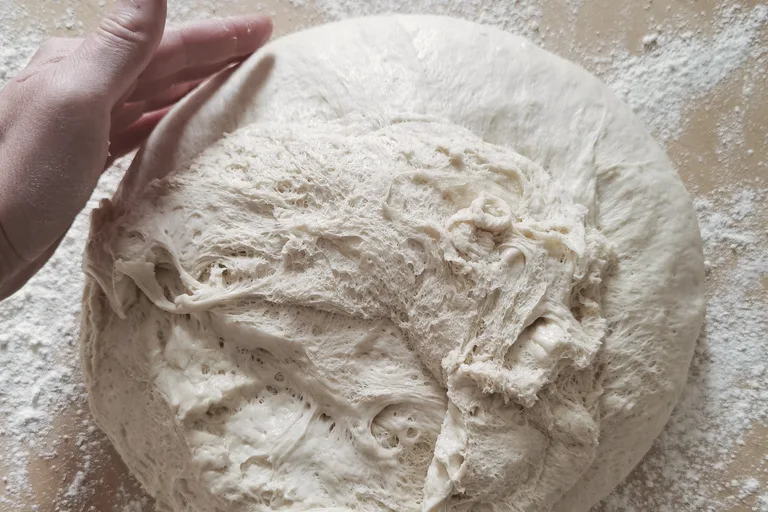
Ready: visibly aerated, elastic and full of fine bubbles. About timing
Warmer kitchens move faster. Watch the rise, bubbles and elasticity more than the clock.
-
09 Divide and shape
Divide into equal portions and shape each one into a smooth, tight dough ball.
4 dough balls, 280 g each
Bake today
Final proof · 1–2 h at room temperature
Ready when the ball is relaxed, slightly expanded, soft and extensible.
→ Release the doughBake later
Refrigerate the dough balls
When ready to bake, take them out and let them warm and final-proof until relaxed and easy to stretch.
→ Release the dough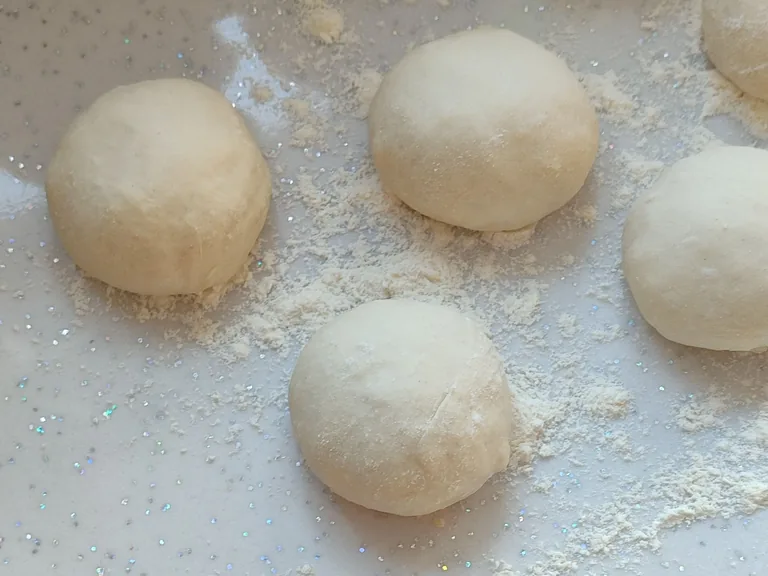
Smooth, tight portions ready for final proof. -
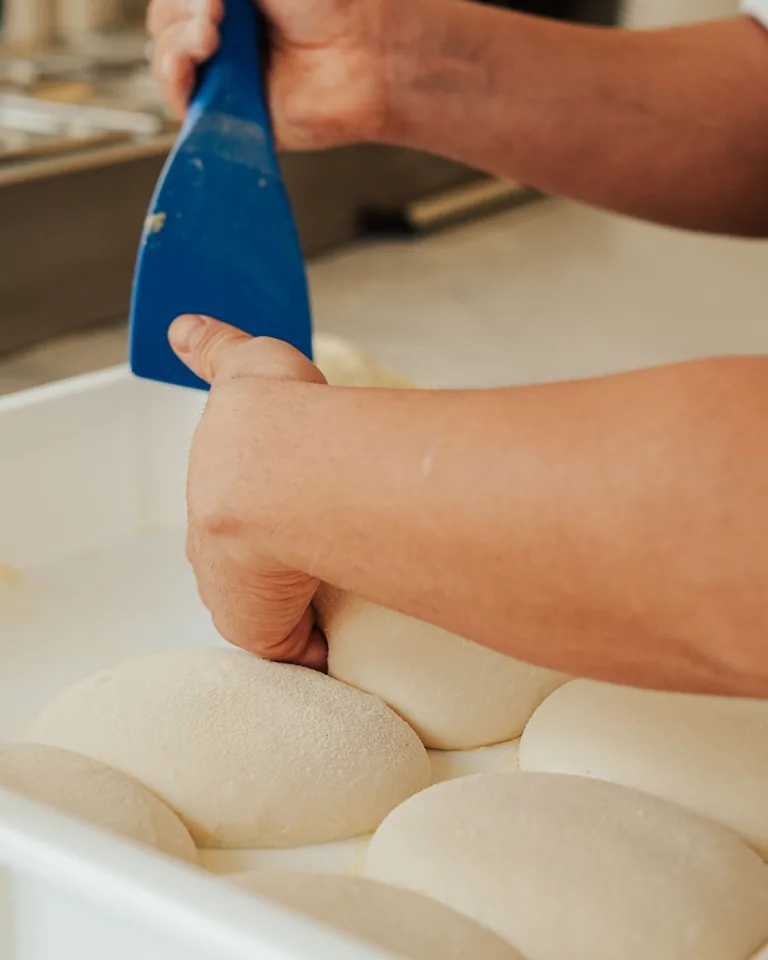
10 Release the dough
Gently release one dough ball with a dough scraper. Coat lightly in fine semolina and transfer to the work surface.
Use only a light coating—just enough to prevent sticking.
-
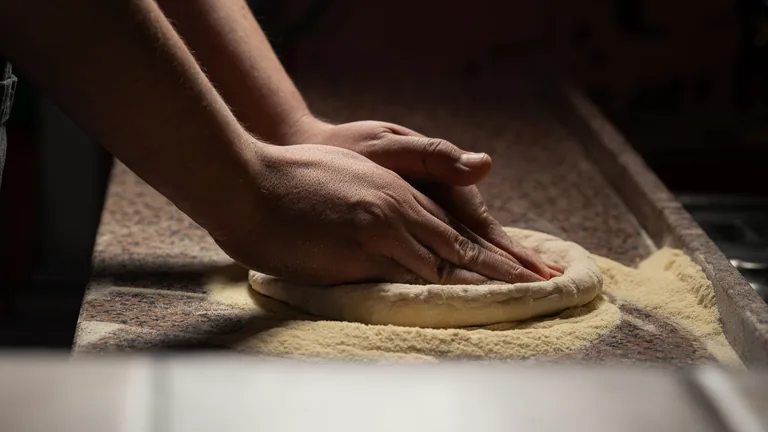
11 Shape
Press from the centre outward, gently pushing gas toward the rim. Stretch by hand. Keep 1–2 cm of the rim untouched.
Do not use a rolling pin.
-
12 Add the toppings
Spread a thin layer of the prepared tomato sauce from the centre outward. Add torn mozzarella, basil and a little olive oil.
Keep the centre lightly topped so it stays crisp. Less is more here.
Use a thin layer of sauce and only a little topping in the centre. -
13 Bake
Ready when the rim is risen and spotted, and the centre is just set.